Today, I want to share with you the maiden voyage of Truly Local Farms: the good, the bad, and the ugly. We had a lot of fun our very first build and learned a lot of salient lessons that would pave the way for our future builds.
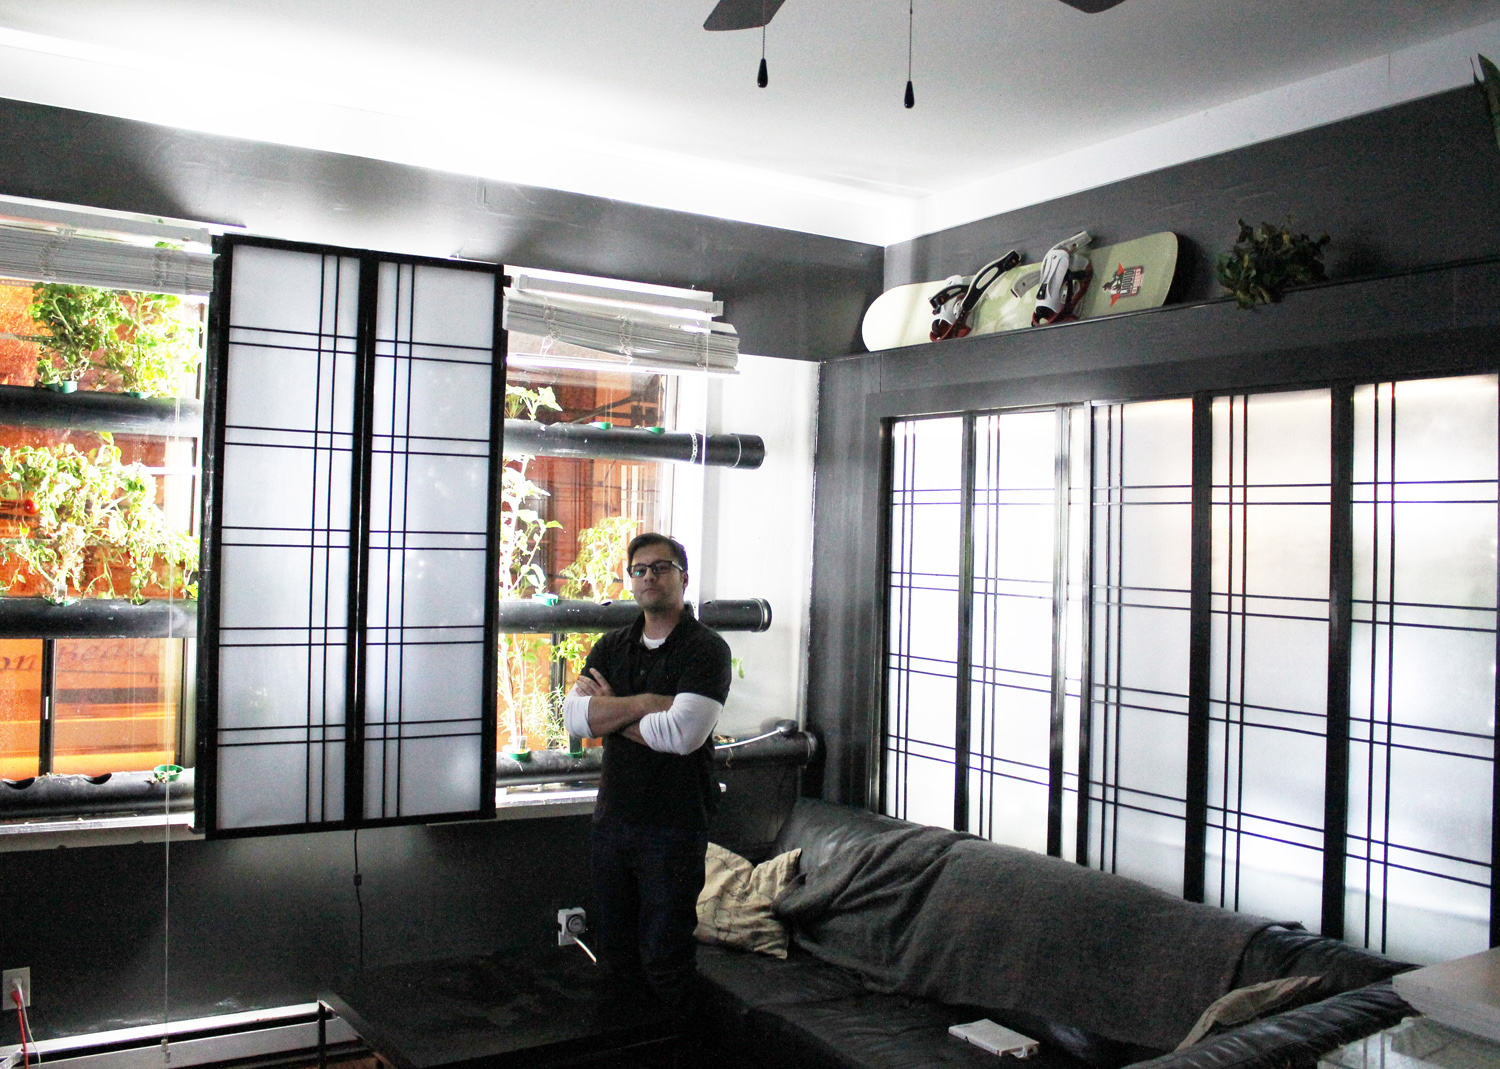
My very first client was my good friend, Alex. From the start, he was highly supportive of TLF as well as my project at his home: a living room wall farm protected by shōji screens. Alex was admittedly skeptical when we first started, unsure if he would even be able to grow enough greens for a salad. He ended up getting even more than that.
Alex worked full time and was new to the city core, so we wanted to make his urban farm would be automated as possible. The farm would also be situated smack dab in his living room, where he watches TV and spends most his time, so the vertical planter had to be extremely quiet, and of course, look amazing.
In the end, we developed two farms. The first one had a hydroponic system with nutrient film techniques (NFT), with four levels and a total length of 40′ of planting space housed behind his coach. The second farm used an aquaponics system, with three layers of shallow water culture (SWC). It faced south, so didn’t need any supplementary light.

Key goals with the wall farm
- Smooth integration with lifestyle. I made sure the farm would be quiet enough, so Alex could enjoy his recreational space as usual, watching movies and reading books without auditory disturbance. When you go vertical, you need pumps to raise the water, aerators to maintain oxygen levels in water, and lights that are strong enough to grow food. All of these elements of a wall farm must be considered for a seamless integration.
- Practicality, affordability, high crop yield. As fun as farming can be, at the end of the day we want to successfully grow food and safe money in the long run. One of my main goals in this endeavour — and all FMC projects — was going beyond the hobby farm and growing enough food to supplement the diet.
- Stylish design. Alex lives downtown and loves to entertain his guests, so I wanted to ensure that his wall farm would be a decorative centrepiece, not an unsightly distraction in his living room. Designing a finish for his farm that he could show off was super important, and inspiration struck with Japanese shōji screens. The panels would not only give the separation to the spaces, but also illuminate a soft light and add a stunning decorative accent to the room.
❓ What are shōji protective cover?
A staple of Japanese architecture, shōji (障子) is a panel made of translucent paper sheets on a lattice frame. Shōji screens are typically used as windows, doors, and room dividers.
How we built the hydroponics system
The farm was hung from 2 x 4 wood attached to the studs behind the drywall, which helped support the weight of the system. We used ¾” plywood cut to 10″ strips to build the box that would house the growing system. Since the systems were covered by the couch, we left it open on the bottom.
To cover up the front of the system, we modified shōji dividers and attached the panels to sliding door hardware. The rice paper screens are an amazing way to blend your urban farm with your living space. We also used mylar on the inside to reflect light back to the plants, dimming the lights even more.


💡 Lighting: LED recommended
For the grow lights, we opted for T5 fluorescent bulbs with blue spectrum. We chose these for their energy efficiency and the fact they don’t give off a lot of heat. In hindsight, however, we shouldn’t have used the 4′-long T5 bulbs and should have used LED instead.

To keep the light focused on the plants, we installed mylar on the inside of the shōji screens and painted the walls with ultra glossy mildew paint.
💧 Growing medium: NFT
We used 4″ plumbing pipe, cut it in half every 3.5″, and left around 2″ of full pipe to maintain integrity. At the end, we put 90 degree pipe to have it drop to the next level. We tried two different types of housing for the plants.
The first one, we used the cut off the pipe and drilled 2″ holes to support the 2″ net pots. This would have a more structure and space for crops to grow. We were also able to start seedlings off in a starter tray, which was helped us ensure we had proper germination.

On other sections, we use landscaping fabric with clay pebbles as a bottom. Make sure you rinse out both of these materials before using them — remember, we are growing food. We tried this method to do a dense planting of seeds in the system. You can have a continual harvest to thin out the plants as they grow.

Both methods worked spectacularly, and I liked the mixture of both types of growing styles, as different plants work well in different environments.
🥗 Crop yield
This system had around 40′ of liner growing and could easily fit 100 plants. There was more than enough space to grow all the leafy green vegetables Alex wanted. In fact, the salad greens flourished to the point that he had more food than he could eat! The main issue with this excess was making sure we staggered farming, so the plants wouldn’t all grow at once.
🚰 Water reservoir, pump, aeration
The first concern with a water reservoir is ensuring that the tote is HDPE grade, the strongest grade of plastic that will prevent chemicals leaching into your water. Having a tote with a lid is important as it stops evaporation. We made sure the reservoir was big enough to support enough water to fill the system; could keep the water pump underwater; could hold extra volume so we wouldn’t have to fill it that often; and finally, we made sure that in the event of a power outage, water would not overflow the reservoir.
The water pump we used was a strong one, as it had to be able to lift a good amount of water almost 8′ into the air. We wanted it to be quiet enough for a living room. Ultimately, we chose a pump that was able to lift 12′ to make sure it was strong enough.
We didn’t need an aerator for this reservoir, as the water coming down the system would disrupt the top of the water enough to keep the dissolved oxygen levels high. However, because we needed an aerator for the other system, we also ran a line into this reservoir.
How we built the aquaponics system
The front system was set up to make use of the south-facing windows, which would provide full sunlight for the fruiting crops.

Since these were going to be fruiting crops, we wanted to make sure there were enough nutrients and water to handle this type of growth. This is why we went with aquaponics. Alex was new at growing food, so we felt that as long as he was able to feed the fish, he wouldn’t need to worry too much about what to feed the plants.
🪴 Pipes
These were 4″ plumbing pipes in which we drilled 4″ holes for the 4″ net pots to house the plants. We spaced it out so four plants would get the natural light. In the middle, however, we had the hole closer together, as it was meant for herbs. The end of the pipes had caps that reduced the hole to 1″, and this drained down into the pipe below.
Lessons from this vertical farm project
- Don’t start everything at once. There were over 150 grow lights by the completion of this urban farm. We got excited and planted everything at once. At the start, Alex was just hoping that he could have a salad at the end of everything. A month later, he was dealing with an abundant crop.
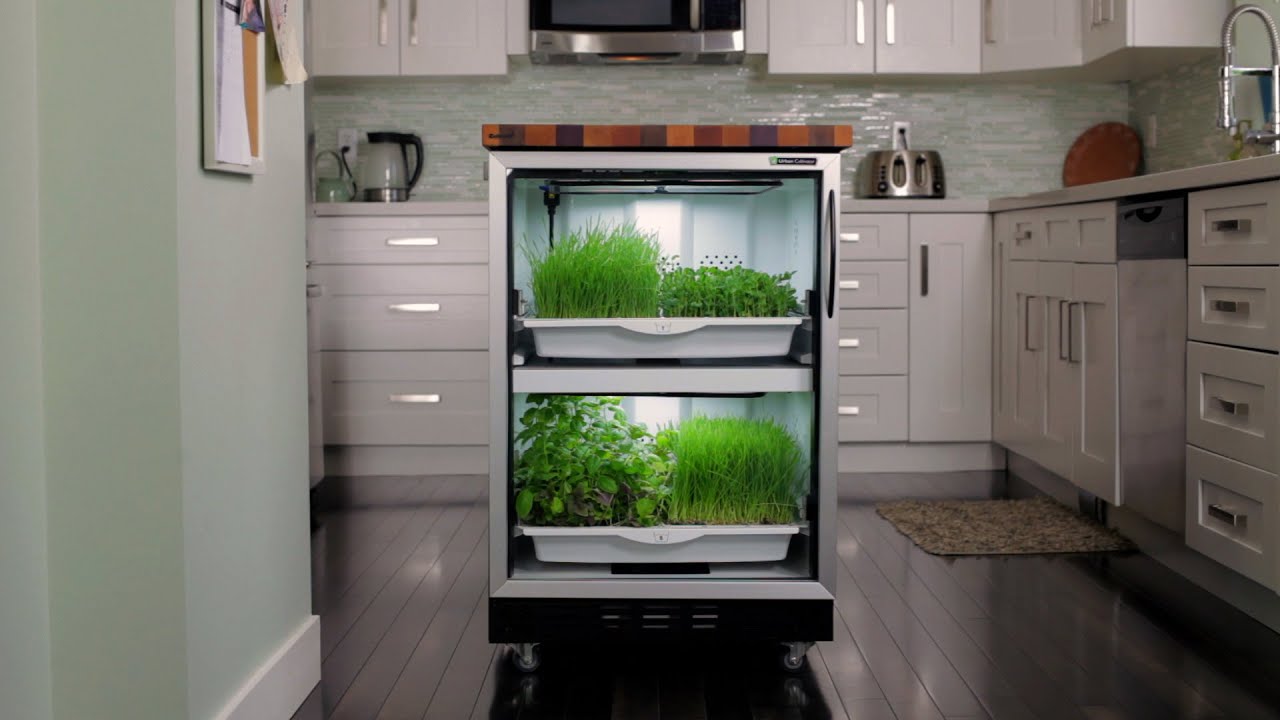
- Growing from seed is not the beginning, but the end. Modern folks have full-time jobs and social lives, so having someone learn to grow from seed is not a feasible starting point. I realized it is better to set these systems up and put mature plants in them and work backwards. I called this concept a Living Fridge, which you can read more about here. As people grow more accustomed to urban farming, than they can get involved with seeds.
- With aquaponics, dire consequences ensue when the filter is not on the pump! I was sitting in Alex’s living room watching TV, counting the fishes, when realized that there were four fishes missing. It dawned on me that when we were adjusting the pump level and moving it around, we must have removed the filter on the front. Since the fish were small, they got sucked into the pump …
- Cover the water from light. The water being exposed to light will eventually lead algae growth and build up. It actually got so bad that we had to clean it out, but it was a never ending battle. The main issue with the algae is that it will take the nutrients from the water, which can starve the plants. Since it was our first farm, we wanted the plants to be able to move, but realized this is a no-no when growing with hydroponics. Thankfully, many of the NFT systems that you can order now are fully enclosed with grow sites.
- Urban farming can be expensive. Food-grade products are expensive, but there are ways you can acquire them cheaply.
- Cost of this system. The total cost of both systems came to just over C$1000 in material. As a friend, we didn’t charge for the labour. It did take us around three days to set the whole farm up, but there was a lot of learning in this process.
Updated July 30, 2021. Originally published April 28, 2019.

